Showing posts with label birthday party. Show all posts

Friday, August 17, 2012

Sixty is Sweet Hydrangea Birthday Party

Details! details! details in the garden at this hydrangea Sixty is Sweet birthday party for Jane of The Garden Girls!

Here today to share the pictures of the garden and decor of the party. Jane & I had a blast planning, shopping, crafting, sharing and styling her party!  We hope you are able to get inspired with what was created,  as Darcy Miller shared with me when I asked how many details are too many? Her answer "there are never to many details, it is about the process".......I think Jane had fun with the process most especially in her gorgeous gardens!  I'll have to get her to share more pictures of the gardens around her home, she has created a peaceful and relaxing place.

You're Invited!!  The invitation that I designed for the party ~ 
it will be in my shop soon:  Styled Prints Design Loft 


The back garden styled perfectly for a relaxing gathering place during the party! 


Ball jars filled with dainty hydrangea arrangements made by Jane...


Paper lanterns and star strung to off of a garden hook


Sweet zinna & hydrangea arrangements created by Jane


Close up of the ball jar, Jane's tip: gather your flowers and place the stems in a water tube to keep them fresh before placing them in your ball jars, keeps them together & easy for displaying the jars.  


The deck is styled & set for all the guests!!

Absolutely beautiful centerpieces created Jane!  
Do you like The Garden Girls on Facebook yet?  Click here to like her page

A close up of the arrangement

Did you notice the flamingo on the invitation that I created for the party?  Here she is adorned with a sweet ball jar of flowers!  Placido Flamigo is the flamingo's name, she certainly makes a statement in the gardens that for sure! 


It was a hot & humid August day here in Chestnut Hill, we were prepared with fans perfect for a garden party from Beau Coup! Here is the link for the fans there are so many colors to chose from! 


Party guest giving them a sweet breeze! 


Jane accessorized all the lantern with stands of paper hydrangeas that she created!  
I just love adding little details to party decor.  
The punch in the Martha Stewart Crafts hydrangea punch, you can find it at Michaels Stores. 


Next posts will be the sweets & more DIY party decor!  

Photo Credits - Jane Piotrowski of The Garden Girls

Peace, Love, & Sixty is Sweet,


Thursday, March 29, 2012

30th Birthday Cookies & party sign decor

I wanted to share with you bright and creative party décor and 
cookies that I created for my cousin’s 30th birthday recently.   
The inspiration was so fun; it was the décor of the Garces Restaurant Group 
called Distrito in Philadelphia, PA. 
At Distrito there is a plaid postcard wall (see photo below) 
which ideally lead me to design the plaid cookie favors. 


Along with the cookie favors that were done free hand, you will see the birthday celebration signs that I designed and personalized them with photos of Brian and his family!  All to coordinate with the highly energetic décor of the establishment.  


By the way if you live in the Philadelphia area or any where that there is a Garces Restaurant Group eatery, I highly recommend it.  The food and atmosphere was both equally excellent, I hear great things about all their chefs and places.  I will say that the party quest certainly added flare to my experience there, but certainly a must try!


Monday, March 26, 2012

DIY Mickey Mouse Hat


I enjoy being creative with character birthdays without having to buy licensed party goods. There are times as well that the party ware are out of stock in the stores, why this tutorial may come handy one day!

What you need~

Party Hats- the one’s that I used are from Target (click the link for the product)
Construction Paper
Ribbon Roll
Pencil
Scissors
Glue Dots


Cut out enough circles for how many ears you need.  I outlined the circles using a ribbon roll.  Then taking 2 circles at a time so both sides are even, fold over the sides as seen in the pictures.  


Take glue dots attach to the circles and attach to the hats.  I used 2 glue dots on each side.    
There you have it!  


Peace, Love & Party Hats~


Monday, January 16, 2012

Oh Too-Doodles!! A Mickey Mouse Birthday

Happy Monday everyone!  I had the pleasure of creating a Mickey Mouse birthday for my niece that turned the fun age of 2 last week.  She has a certain love, as many do for the classic Mouse, Mickey of course!   I enjoyed making this commercial character into our own to make it cute and unique!  Not every dessert table needs to be all out with an over abundance of desserts,  you can create an easy yet colorful and memorable dessert display with special details.  


Coordinating cookies of square & party hat shapes

DIY Party Hats! Everyone must be celebrating Micky Mouse style because there we no hats in stock at the stores.  No worries with simply cutting out black circles out of construction paper and finding colorful hats at Target we were in Mickey Mouse business.  Kids loved them and they all look great wearing their ears!  See~
 Oh-two doodles wearing her hat!  

PARTY DECOR

Window sign welcoming guests


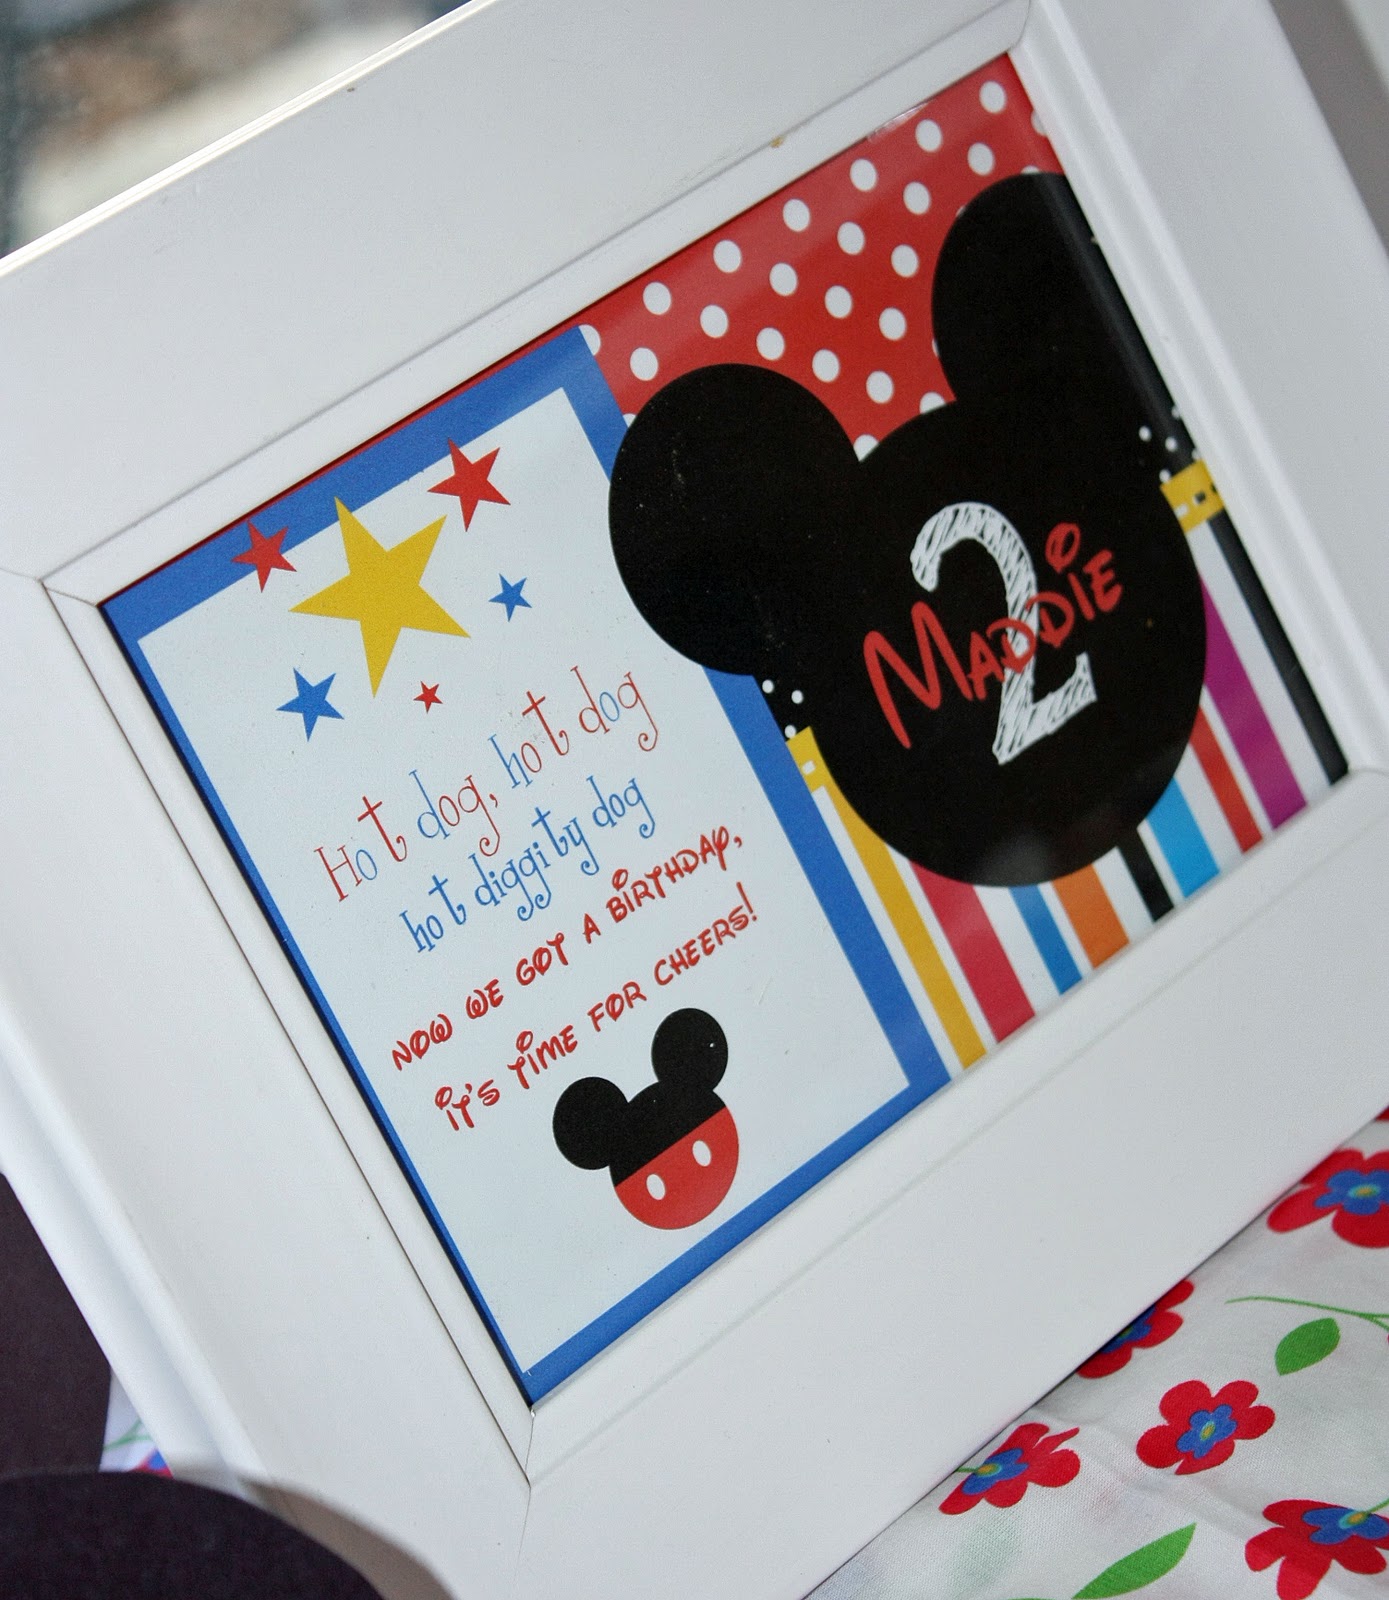
 Oh-Two doodles personalized 5x7 framed sign 
 DIY printable banner

The famous song "hot dog hot digity dog" 5x7 personalized sign.  
You should see her dance for that song.... priceless.   

CUPCAKES~

 Vanilla buttercream cupcakes with fondant toppers

Cupcake Toppers

Chocolate Fudge Icing Cupcakes
will be sharing the recipe & how to make the hats on my blog later today.  The frosting is delicious and the party hats were very easy to make.  


Peace, Love & Mickey Mouse Birthday,


Stacy

Monday, May 24, 2010

Our little cupcake turned 1!

The party turned out fantastic despite the rain that set me back a bit and sent us into re-organizing the party set-up mode to inside, but a few hours later the sun came out and the birthday girl & her quests both big & small had a wonderful day!

All the desserts for the sweet table were all baked & decorated by me with lots of love for my little love bug~
Her very first cake.....layers of white & strawberry cake, vanilla buttercream icing covered in fondant


We had 3 types of white cake cupcakes with very flavorful buttercreams~
the birthday cupcakes were vanilla buttercream


My favorite Raspberry Chambord buttercream~


And a new one I thought of that morning and everyone LOVED it!  
Orange Creamcicle buttercream, flavored it with orange juice & cointreau liquer.  It tasted exactly like the frozen popsicles!!


So all in all along with the cupcakes, cake there were brownie pops, strawberry & cream cheese cake balls, and sugar cookies decorated with fondant.  All the colors of the party!!  
Then there was Maggie's Sweet Shop for the little guests to enjoy on there way home~


The birthday girl enjoying her cake & cupcakes with her sissy's~


Again, I got a few ideas from a very creative woman Amy Atlas!  
Thank you also to the TomKat Studio for the adorable cupcake labels & the Margaret circle I used for the  cake!  As I mentioned above, the rain came so quickly and was not in the forecast forcing us to move everything inside at the last moment, I had planned on using her DIY printed circles on the sweet shop but ran out of time, because before I knew it all the guest were there and I had to get into the kitchen to cook filet mignon sliders with caramelized onions and blue cheese crumbles!   
Check out both of their websites each one have tasteful & darling ideas for your parties:
www.amyatlas.com
http://www.tomkatstudio.blogspot.com or visit her shop at www.etsy.com
Check out some of the other blogs that I follow for some ideas and fabulous giveaways they have from time to time.  

The DIY details were as follows~
The backdrop- an art canvas covered in pink silk fabric with 2 banners.  The banners were 2" scallop cutouts on a lime green ribbon.  The cutouts were secured on the ribbon with pearlized buttons bought at Michael's. 
 The cupcake sticks for the brownie pops, pom-poms along the back of the table and ofcourse the DIY printable labels from TomKat Studio! Lastly, I had cut out squares from the colors of the party and put them behind the white house screen I had and used it for Maggies Sweet Shop!  Loved the way that looked!  

It was a blast and I had such a great time putting this all together!  I think for my first table this wasn't so bad, I can't wait for the next one and I learned a lot of what to do and not to do so my next one will be a lot less stressful for sure!    The most memorable "ah-ha" moment I had was the night before I was going to decorate the cake, I woke up at 3am and thought "I know what to do to the top tier of the cake....I'll create the banner"!  That was my most favorite thing to of pulling it all together!